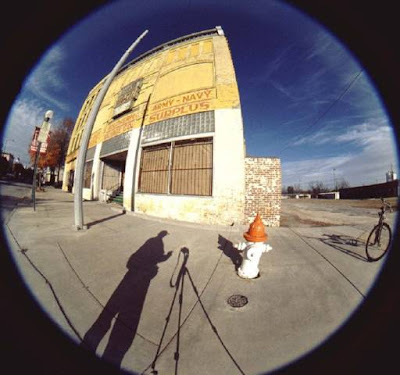
Before going to tutorial, here is the example of the REAL fisheye photo.
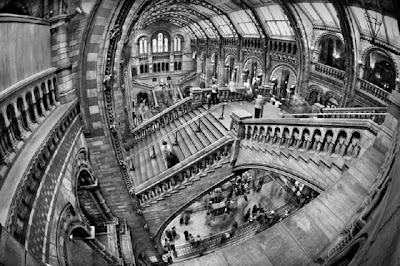
Another version
Here I had 2 techniques to create a fisheye effecr using photoshop, I'll tell you one by one. You can use photo with any resolution.
Here is the method 1:
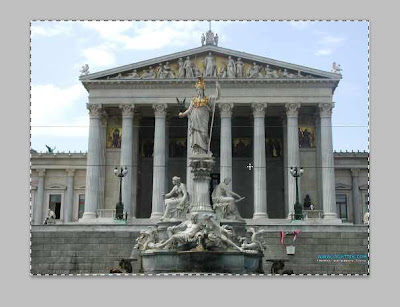
1. Open your photo then press ctrl + A to select all area.
2. Choose edit menu - transform - wrap
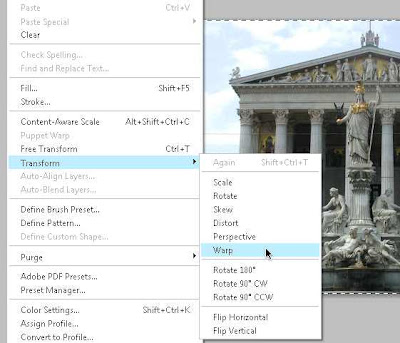
3. Choose fisheye preset. You can customize the blend value Pilih preset fisheye.
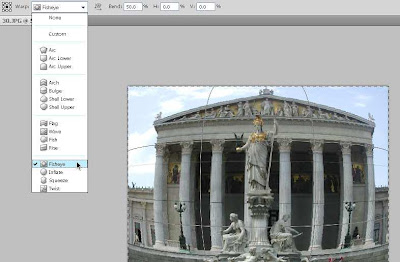
4. Click OK and here is the result.
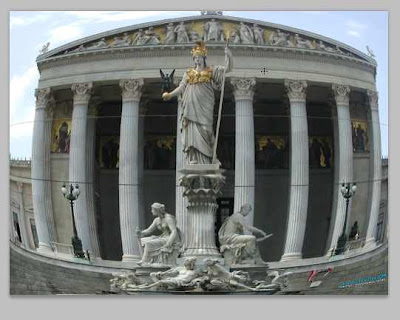
Here is the method 2:
1. Open your photo, make an eliptical selection to the main object.
Change the photo into layer by double click the background in the layers tab.
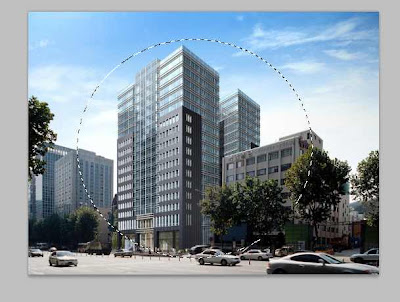
2. Inverse selection by pressing ctrl + shift + I
Then press delete button to remove background.

3. Press ctrl + shift + I again to select the main object. Then goto filter menu - distort - spherize
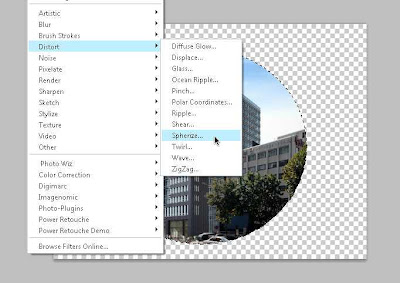
4. Here is the fisheye effects will be generated. Slide the amount till you got the optimum fisheye effect. Click OK to apply effect
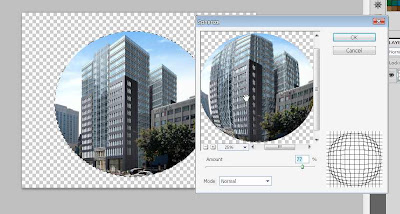
5. Now you got the "fake" fisheye photo.
Next, you can fill the background to make your photo looks nice.
Black background, just like the real fisheye photo.. :D
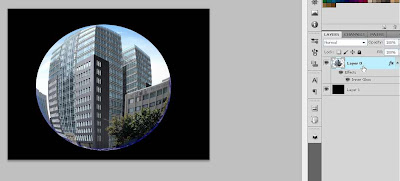
Also you can add a gradient to it.. :D

So, which method is better? it's up to you.. :D

Post a Comment